All About French Drains

Invented by Henry French in 1859, the purpose of the French drain hasn’t changed much since then. It’s still used to channel water away from buildings to prevent accelerated erosion. Today, French drains can still naturally flow downhill or a sump pump can be used to achieve the same results. All common foundation materials for a house are susceptible to erosion over time, especially when bombarded with water every time it rains. Let’s take a closer look at how to install a French drain, including the outdoor French drain tools needed for the task, and how to build a French drain to keep costs at a minimum while still keeping your home safe from water damage.
How To Install a French Drain in 6 Easy Steps

Outdoor French drain installation is a fairly simple task. Before you get started, however, you want to clearly determine the area where the drain will be installed and how the water will be rerouted. If there is a hill or significant slope on the side of your home where water typically gathers, find the path where gravity is likely to allow the water to flow naturally in the drain. This eliminates the need for a sump pump. You should also choose an area for the drain that won’t have a negative impact on neighboring properties. This includes ensuring that the drained water won’t damage neighboring yards or create a hazard on the street or sidewalk adjacent to your property.
Outdoor French Drain Tools Needed
- Pick Axe/trencher & a shovel
- Top soil and sand
- 4 inch perforated drain pipe
- Striping spray paint
- Gravel and landscaping stones
- Landscape fabric
- Turf Grass
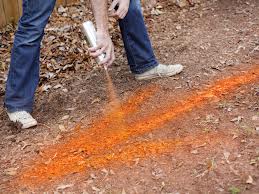
1. Mark the Area
Before determining how to build a French drain based on your specific drainage needs, there needs to be an area free of debris where the drain will be located. If possible, find a path that is already free of debris. If a clear path doesn’t exist, carefully remove any debris, including any bushes and trees likely to have extensive root systems that could make it more difficult to install the drain. If possible, find a path free of trees since tree removal can be an involved process. Once you have an area with a clear path, mark the area with spray paint.
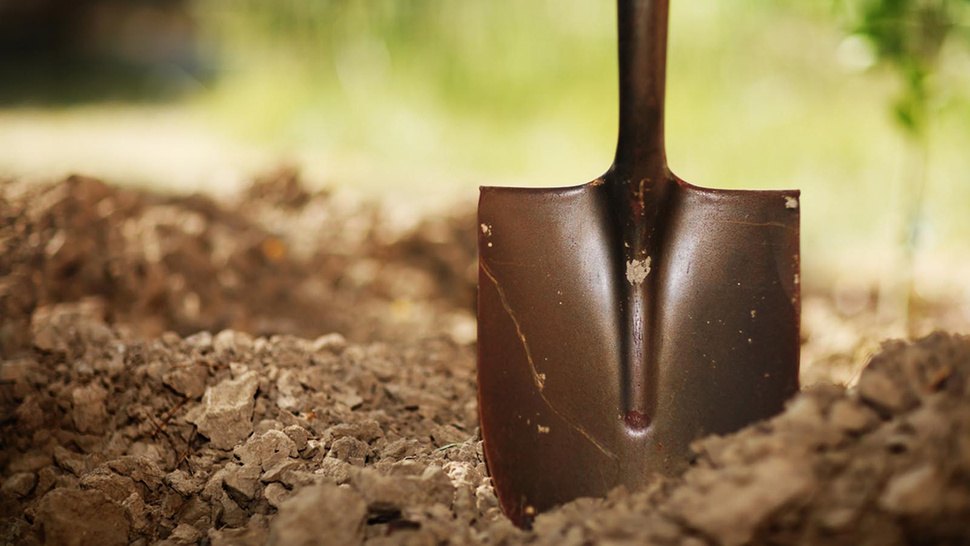
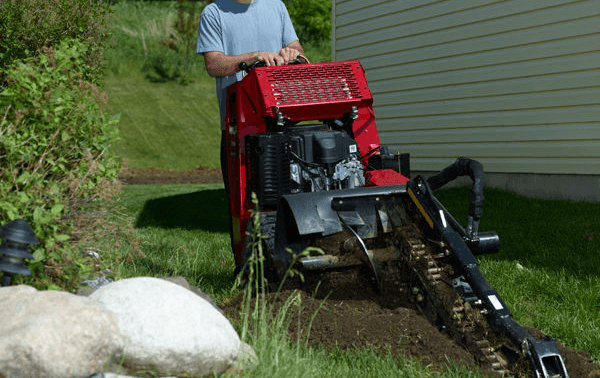
2. Create a Trench for the Drain
The next step is to dig the trench for your French drain along the area marked with spray paint. The depth of the trench should not exceed the nearest foundation. This helps to encourage a natural flow from your property before water can accumulate. While precision to the smallest quarter inch isn’t necessary, a width of 12 inches should be maintained along the entire path that will be used for the drain.
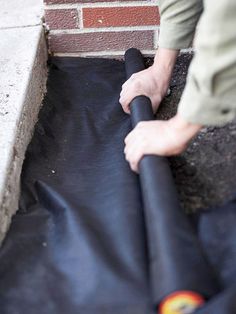
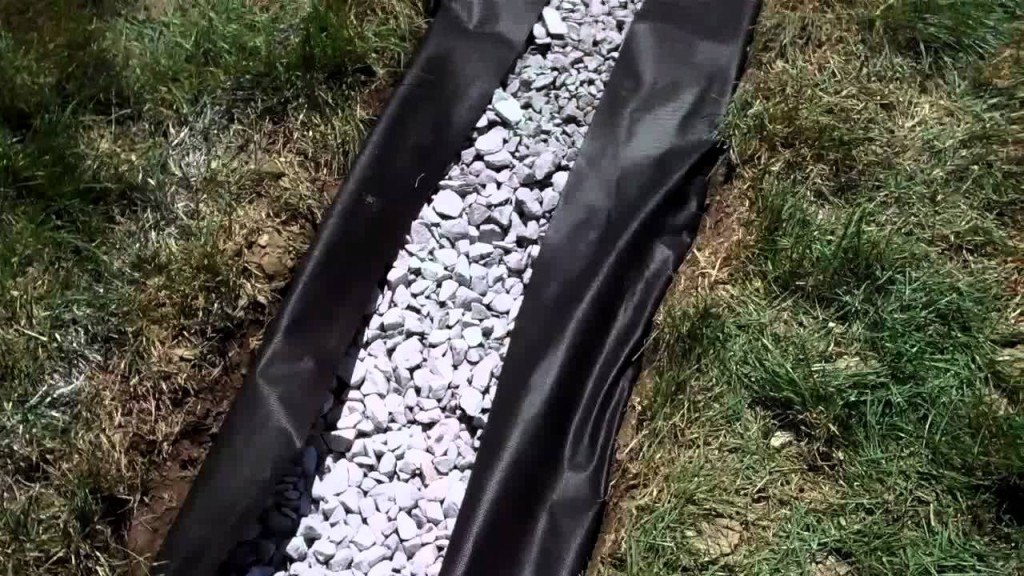
3. Place Landscape Fabric
Once the trench has been completely dug, landscape fabric should be placed along the entire length of the drain path. Leave approximately 10 inches of excess fabric along the entire drain path. This extra fabric will be used later to provide an added layer of protection for the pipe. When preparing the landscape fabric for the trench, err on the side of caution since excess fabric can easily be trimmed or tucked.
4. Add Gravel for the Lining
Once the path is lined with landscape fabric, the next step is to add gravel for the lining. The gravel should be at least 3 inches deep along the trench. There’s no need to push the gravel down. Just let it rest naturally along the trench. The gravel helps prevent water that flows along the trench from being absorbed into the ground. It also helps keep weeds and grass from overtaking the path of the drain.
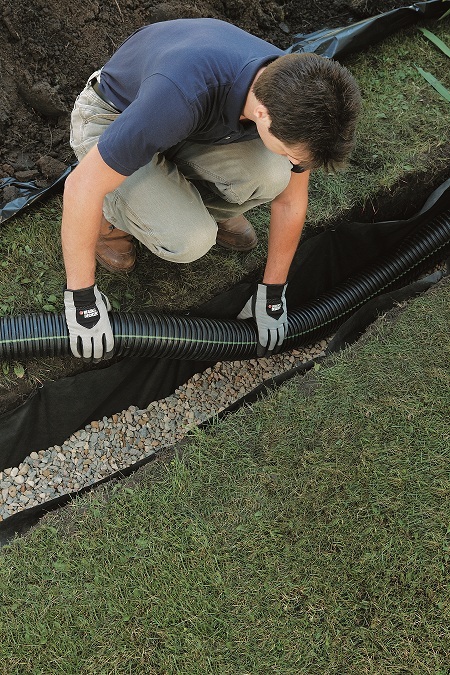
5. Place the Pipe
Once the gravel has been installed, the next step is to add the pipe. The pipe used for the trench should be carefully measured to ensure that it goes from the base of your foundation to the designated drainage spot. After the pipe is placed along the path, additional gravel is placed on top of the pipe. You want to leave about 5 inches between the top of the gravel and the surface.
Note: Any excess landscape fabric should be folded over to protect the drain pipe.
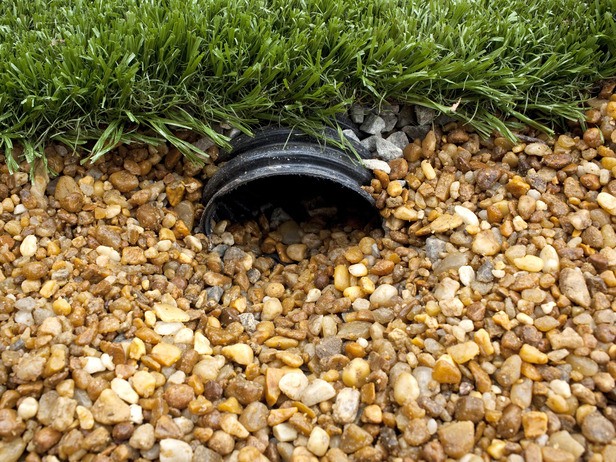
6. Fill and Cover the Trench
Once the landscape fabric is folded together as an added layer of protection, use the shovel to fill the trench with sand and topsoil. Turf can then be used to cover the layer of sand and topsoil. You’ll want to add a bed of stones around the area where the drain ends. You can also replant grass on top of the covered drain. The only areas that needs to be exposed are the openings on each end of the pipe, otherwise the drain can be covered to blend in with your natural landscape.
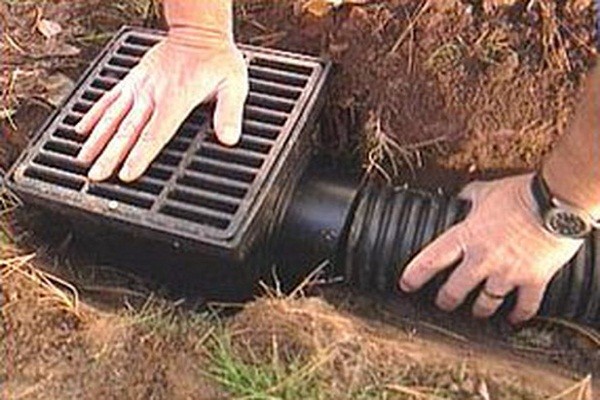
French Drain Maintenance
Now that your French drain is installed and you’ve got your yard back in shape, all that is left is regular maintenance. Maintenance of your French drain doesn’t usually involve much more than inspecting the openings on both ends of the pipe to ensure that nothing is blocking either end. If you suspect that dirt and debris is slowing down the flow of water inside of the pipe, use a garden hose at the top of the pipe to send a blast of water through the pipe to free any debris that may have gathered inside of the pipe.
French Drain Tips
Here are some French drain tips to keep your drain well maintained and fully operational:
- Drains slopping at least 6 inches for every 50 feet generally produce better results.
- Inspect your drain after severe storms to ensure that debris isn’t clogging the drain.
- Effective trenches should run horizontally across slopes and parallel to buildings.
- For best results, do the installation when the soil is either dry or moist, not saturated from a recent heavy rain.
- If a clog doesn’t easily clear, contact a professional to use professional pipe clearing tools and pipe cameras to look for blockages.
- If your pipe is no longer draining at all, part of the pipe may have collapsed, which means the pipe will need to be dug up to inspect for damage.
- While sections of pipe can be repaired, it’s often best to replace the entire drain pipe to avoid the need to dig and repair future collapses.
A French drain has many benefits. Aside from saving you from costly foundation repairs, a properly installed drain may earn you a discount on your homeowners policy. It can also be a good way to control water buildup in your yard to protect your exterior landscape. When properly built and maintained, an outdoor French drain can be an effective way to protect your property from the effects of erosion. A French drain can usually last for about a good decade or so with only minimal maintenance. The foundation damage it prevents more than justifies the cost of installing a French drain.